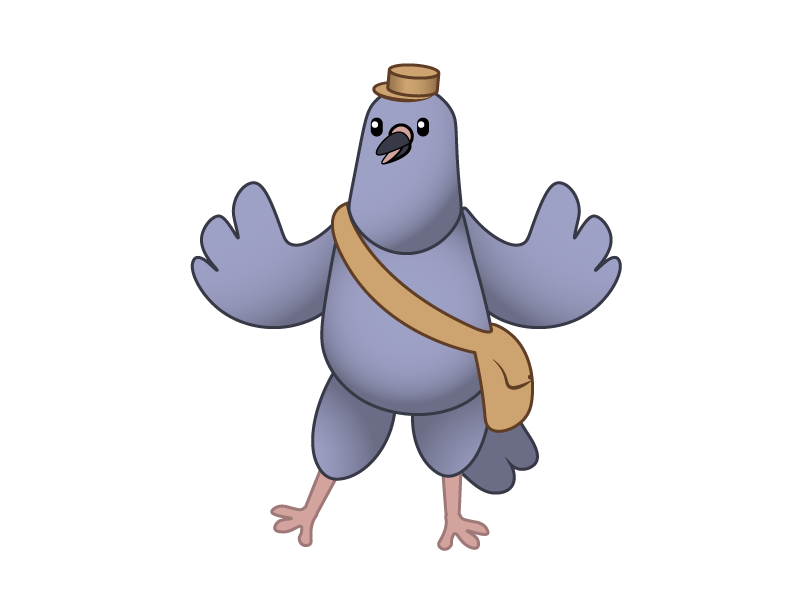
Recently Radial built a small iPad application aimed at children. We worked with an illustrator to create a fun character for the app named Pete the Carrier Pigeon. We wanted Pete to come alive in a few of the views with some simple animations. Here’s how we did it.

Step One: Create layers
First we had to decide which parts of Pete we wanted to animate. We decided on the eyes (we’d make them blink), the cap (we’d make it lift up and spin), and the beak (so he could talk).
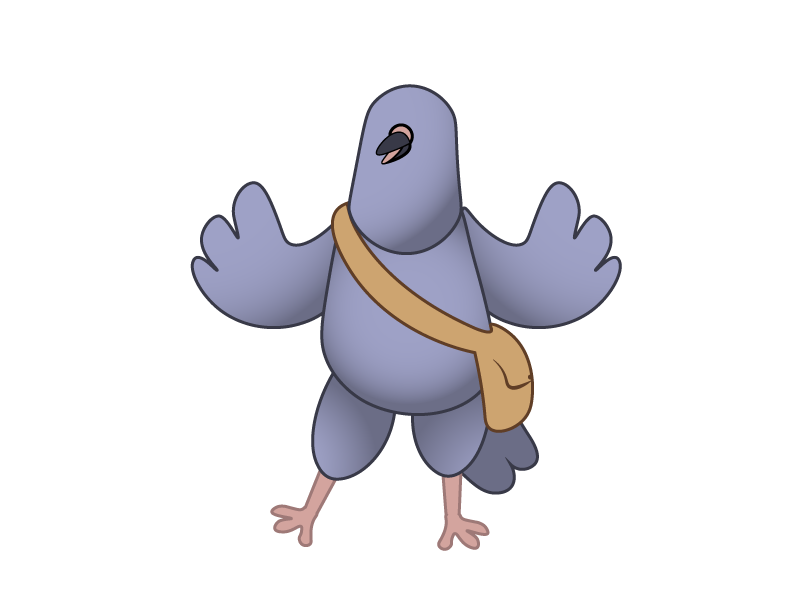
To do this, first I exported a base image of the character. This does not contain the parts of his body that would be animated. Our app was being built in https://facebook.github.io/react-native/docs/getting-started.html, which currently does not support svgs. We decided to animate pngs instead. So I exported the below image from Adobe Illustrator as a png with a transparent background.

We called this base_pete.png
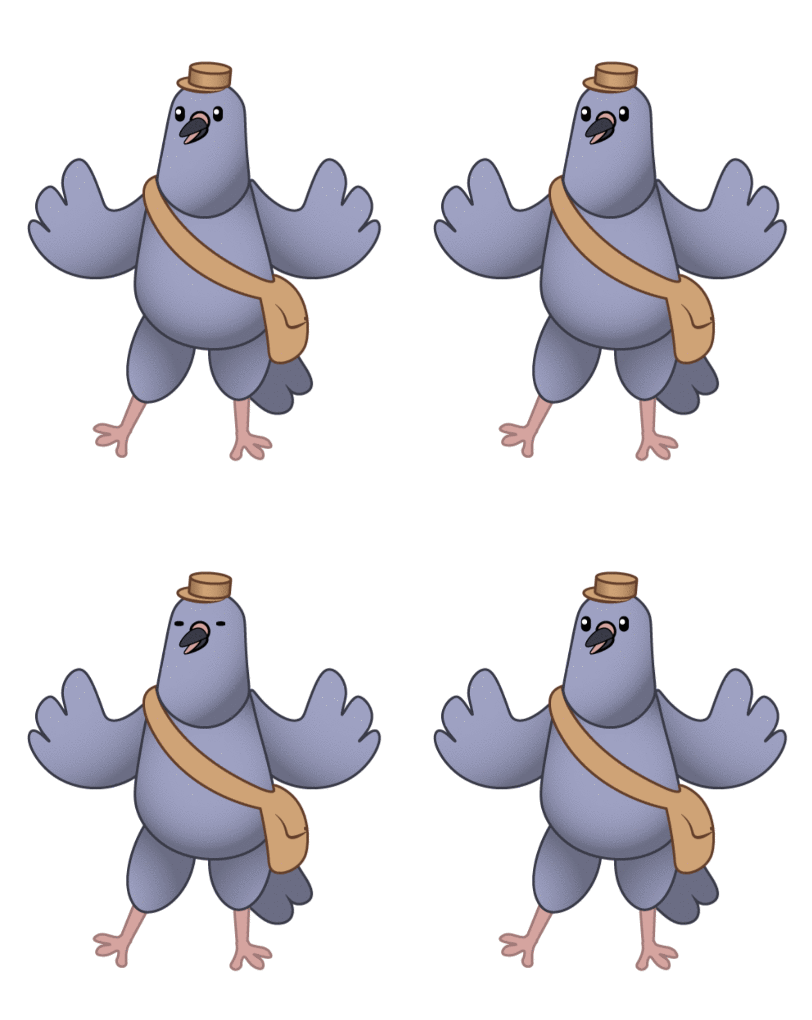
Then I made a separate pngs of the parts to be animated. For winking and a cap animation, I made:
- pete_eyes_open.png
- pete_eyes_closed.png
- pete_cap_up.png
- pete_cap_down.png

Step 2: Create components and position the layers
We created a React component called PetePart. That component returns the part of Pete desired based on the value passed to the source attribute (eyes_open, eyes_closed, cap_up, cap_down.)
import React, { Component } from 'react';
import { View, Image, Animated } from 'react-native';
import styles from '../styles/Pete.style';

const PetePart = ({source, style={}}) => (
  <Animated.View style={[styles.petePart, style]}>
    <Image source={source}/>
  </Animated.View>
);
This component PetePart then becomes part of the parent component Pete. The Pete component renders the base image. We absolutely positioned all the PetePart images so that when they are visible they appear in the correct location on the base image. The code below now represents a reusable “Pete” component that can go anywhere in the app, ready to be animated.
Below is the code for the Pete component
import React, { Component } from 'react';
import { View, Image, Animated } from 'react-native';
import styles from '../styles/Pete.style';

const PetePart = ({source, style={}}) => (
  <Animated.View style={[styles.petePart, style]}>
    <Image source={source}/>
  </Animated.View>
);

const eyesOpen = require('../assets/images/pete_eyes_open.png');
const eyesClosed = require('../assets/images/pete_eyes_closed.png');

const capUp = require('../assets/images/pete_cap_up.png');
const capDown = require('../assets/images/pete_cap_down.png');

const capHeightStyle = (height=0) => ({transform: [{translateY: height}]})

export default function Pete({ eyes='open', cap='on', capHeight=0 }) {
  return (
    <View>
      <PetePart source={eyes === 'open' ? eyesOpen : eyesClosed}/>
      <PetePart source={cap === 'off' ? capUp : capDown} style={capHeightStyle(capHeight)}/>
      <Image source={require('../assets/images/pete_base.png')} ></Image>
    </View>
  );
}
Step 3: Create the animations
We created a component called AnimatedPete that handles the animation. This component is where all the animation logic lives. It then passes props to the Pete component which animates based on those props.

The animations are all created using setTimeouts. A tricky part of this is working out the timing of the animations.
In the original code I wrote, Pete’s eyes blinked on and off at a predictable rate, which looked unnatural.
We refactored to fix this. Essentially what needed to happen was the blinking timing had to be separated from the periods of time when Pete’s eyes are just open.
In the refactored code, the eyes open and blinking timing get kicked off with different setTimeouts. This helps the blinking look more natural.
The timeouts are then cleared using onComponentWillUnmount. This prevents events being called on a component that was unmounted.
To lift the cap we use the Animated API from ReactNative. This gives the ability to have a set of animations in sequence Animated.sequenceto lift and lower the cap.
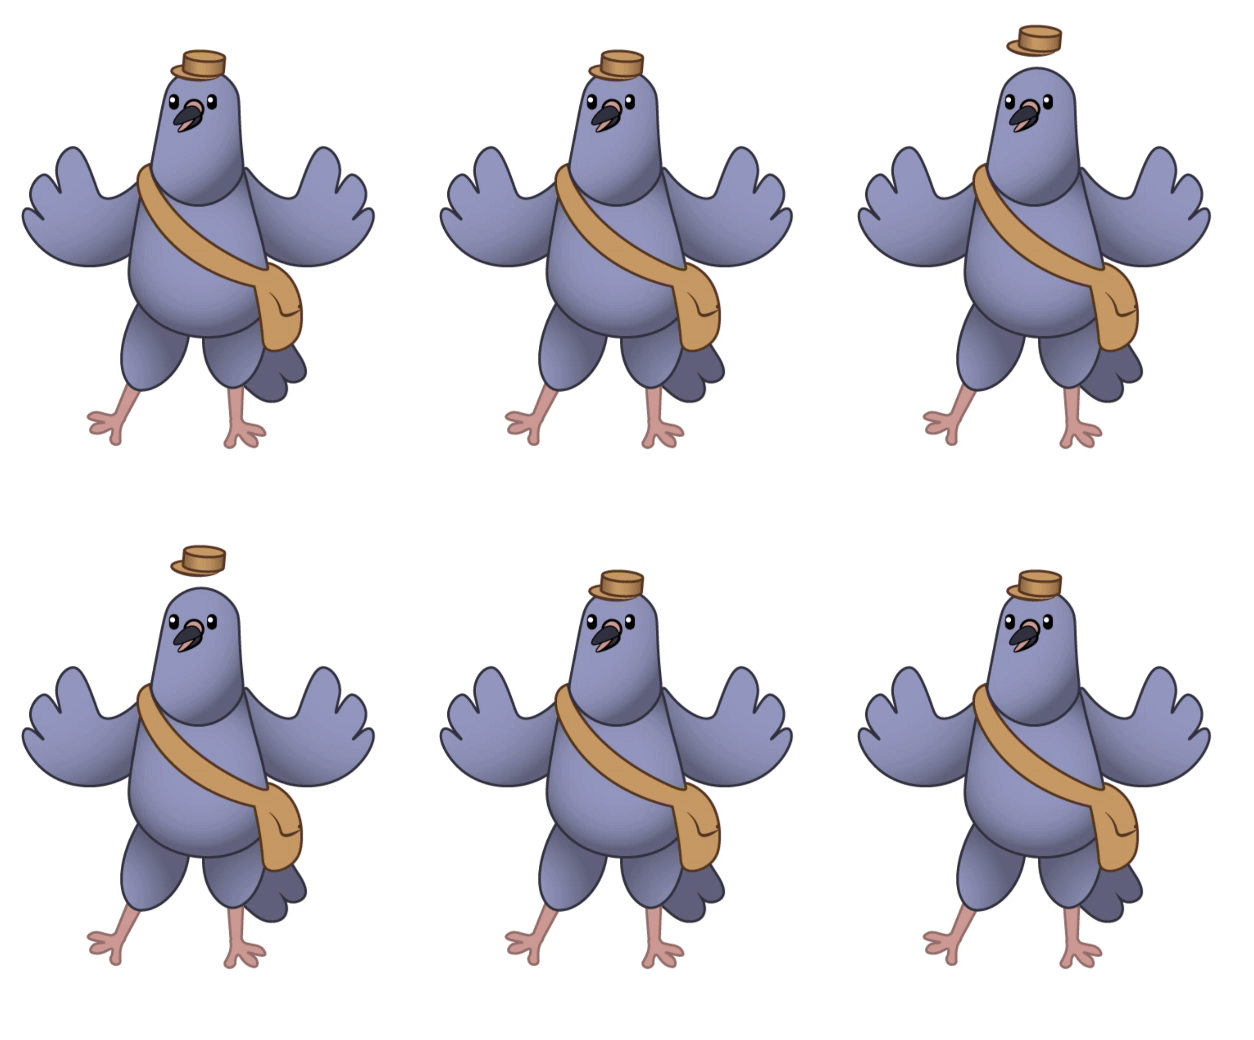
Wiggling the cap is very similar to blinking the eyes. To wiggle the cap we simply switch between the pete_cap_up.png and pete_cap_down.png images using a setTimeout.
Below is the complete code for the Animated Pete component.
import _ from 'lodash';
import React, { Component } from 'react';
import { View, Image, Animated } from 'react-native';
import Pete from '../components/Pete';

const BLINK_TIME = 120;
const CAP_WIGGLE_TIMER = 80;
const CAP_FLOAT_SPEED = 350;
const CAP_FLOAT_TIMER = 5000;
const CAP_FLOAT_HEIGHT = 30;

export default class AnimatedPete extends React.Component {
  constructor(props) {
    super(props);
    this.state = {
      eyes: true,
      capTip: true,
      capHeight: new Animated.Value(0)
    };
    if (props.blinking) {
      setTimeout(this.blink, 1000);
    }
    if (props.capToggle) {
      this._wiggleTimer = setTimeout(this.capWiggle, 100);
      this._capTimer = setTimeout(this.capFloat, 100);
    }
  }

  onComponentWillUnmount() {
    clearTimeout(this._blinkTimer);
    clearTimeout(this._wiggleTimer);
    clearTimeout(this._capTimer);
  }

  blink = () => {
    this.setState({eyes: false});
    setTimeout(() => this.setState({eyes: true}), BLINK_TIME);
    this._blinkTimer = setTimeout(this.blink, _.random(1000, 5000));
  }

  capWiggle = () => {
    const wiggles = 7;
    _.times(wiggles, (i) => {
      setTimeout(() => this.setState({capTip: false}), CAP_FLOAT_SPEED+CAP_WIGGLE_TIMER*(i*2));
      setTimeout(() => this.setState({capTip: true}), CAP_FLOAT_SPEED+CAP_WIGGLE_TIMER*(i*2+0.8));
    })
    this._wiggleTimer = setTimeout(this.capWiggle, CAP_FLOAT_TIMER);
  }
  capFloat = () => {
    Animated.sequence([
      Animated.spring(this.state.capHeight, {toValue: -CAP_FLOAT_HEIGHT, duration: CAP_FLOAT_SPEED}),
      Animated.spring(this.state.capHeight, {toValue: 0, duration: CAP_FLOAT_SPEED, delay: CAP_FLOAT_SPEED})
    ]).start();
    this._capTimer = setTimeout(this.capFloat, CAP_FLOAT_TIMER);
  }

  render() {
    const {eyes, capTip, capHeight} = this.state;
    return <Pete eyes={eyes ? 'open' : 'closed'} cap={capTip ? 'on' : 'off'} capHeight={capHeight}/>
  }
}
This is a fairly straightforward way to create simple animations for characters.
Here’s a look at the final hat animation:

If you were programming for a web browser you would probably prefer to use svgs. This would allow you to make even more custom animations, since SVG is a complete vector drawing language. But we were able to accomplish what we wanted for this straightforward case using pngs in React Native.
